Did you know the average pair of pristine white sneakers faces over fifty potential stains in its first year of wear? This stunning fact highlights a common struggle. Bright white footwear is a universal wardrobe staple, loved for its crisp look and versatile style.
That flawless appearance, however, is famously difficult to maintain. Everyday life—from city sidewalks to park grass—constantly threatens their pristine condition. Dirt, scuffs, and mysterious marks seem to appear out of nowhere.
This comprehensive guide is your solution. We will walk you through effective methods for different materials, from canvas to leather. You will also learn preventive care to stop stains before they set in.
Restoring your favorite pair to a box-fresh state is completely achievable. You do not need expensive professional services. With simple tools and the right steps, you can tackle even the most worn-looking shoes.
Get ready to bring new life to your collection. We cover everything from basic maintenance to advanced whitening techniques. Let’s begin the journey to keep your footwear looking its absolute best.
Key Takeaways
- White footwear is versatile but requires consistent care to fight everyday dirt.
- Different materials, like leather or canvas, need specific cleaning approaches.
- Preventive measures can significantly reduce how often deep cleaning is needed.
- Basic household items are often enough for effective maintenance and restoration.
- Regular, gentle cleaning is better than letting stains set in for a long time.
- Proper drying techniques are crucial to prevent damage after washing.
- With the right knowledge, you can keep your sneakers looking new for longer.
Understanding the Importance of Clean White Shoes
The enduring appeal of bright, clean sneakers transcends fleeting fashion trends. This iconic footwear has remained a staple across generations. These sneakers symbolize both style and functionality.
That crisp, pristine look creates an immediately polished and put-together appearance. It effortlessly elevates any outfit. A strong positive impression is made in both social and professional environments.
Why pristine white shoes matter
Many individuals avoid light-colored footwear entirely. They operate under the misconception that maintenance is excessively difficult. In reality, with consistent care, preserving that fresh look is entirely achievable.
Common challenges with white shoe maintenance
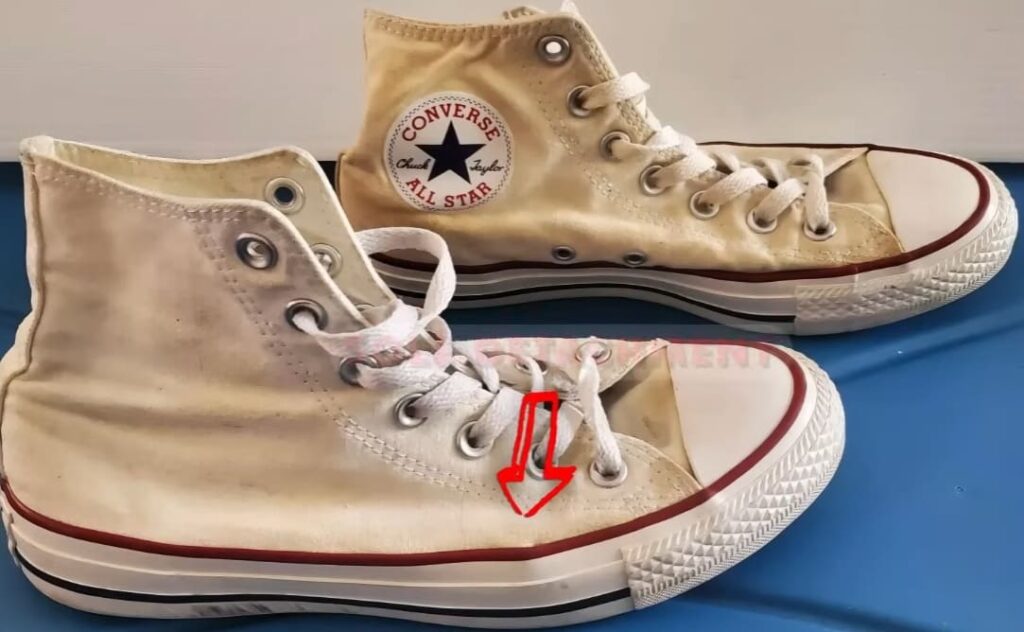
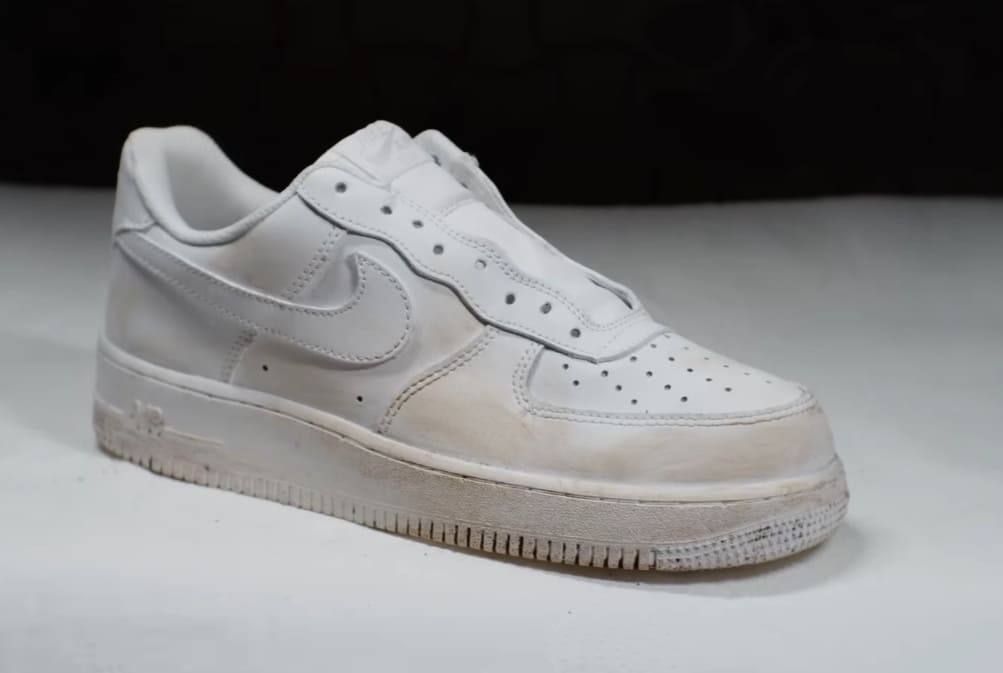
Light materials act like magnets. They showcase every speck of dust, denim bleed, and urban grime. Scuffs and stubborn stains from various sources are frequent annoyances.
Yellowing over time presents another common difficulty. Cleaning different fabrics and leathers without causing damage requires specific knowledge. Despite these hurdles, employing correct techniques transforms this footwear into a worthwhile investment. Your favorite pair can maintain its like-new appearance for significantly longer.
How to Clean All White Shoes?
Achieving a like-new look for your favorite sneakers is easier than you might think. The process boils down to two essential stages. First, eliminate grime and marks. Second, restore that bright, fresh color.
Your approach must match the footwear material. Canvas, leather, suede, mesh, and rubber each need specific care. Using an incorrect method risks permanent damage to your white shoes.
Effective maintenance isn’t about strong chemicals or costly products. It’s about knowing your sneaker’s construction and applying suitable techniques.
A typical session starts by brushing off loose dirt. Next, target stubborn stains with a gentle solution. Finally, allow ample time for air drying.
This might sound involved initially. With the right tools and knowledge, it becomes a straightforward routine.
Upcoming sections provide detailed instructions for various materials and situations. You’ll learn tailored methods for every part of your footwear.
For deeply soiled pairs, one attempt might not suffice. Multiple gentle sessions often yield the best, most lasting results.
| Step | Primary Goal | Key Actions | Material Consideration |
|---|---|---|---|
| 1. Cleaning | Remove dirt and stains | Brush debris, apply cleaner, scrub gently | Use mild soap for canvas; specialized cleaner for leather |
| 2. Whitening | Restore brightness and color | Apply baking soda paste, use vinegar solution, air dry | Test on a small area first; avoid bleach on colored trim |
Essential Supplies and Preparation
Success in sneaker care begins long before any scrubbing—it starts with a well-stocked toolkit. Gathering everything you need upfront prevents mid-process frustration. You avoid those annoying trips to the store.
This preparation turns a chore into a smooth, efficient routine. Your favorite footwear deserves this thoughtful approach.
Gathering the Right Cleaning Tools
Your arsenal should include a few simple items. A soft-bristled brush is gentle on delicate mesh or knit uppers. A firmer brush tackles stubborn grime on rubber soles.
An old toothbrush becomes your best friend for tight spaces and stitching. Have several microfiber cloths and paper towels ready. They are crucial for applying solution and drying.
Selecting Effective Cleaning Solutions
You likely own powerful cleaners already. Mild dish soap mixed with warm water is a safe, versatile cleaning solution. Baking soda and white vinegar are fantastic natural agents for brightening.
For dedicated enthusiasts, specialized products offer advanced formulas. Think of dedicated shoe cleaning solutions, magic erasers, and protective wipes for quick touch-ups.
Set up your space with good lighting. Protect surfaces with old newspapers. Keep your supplies in a dedicated kit.
This makes regular maintenance for your shoes a simple habit. With the right tools for the materials, you’re set for success.
Step-by-Step Cleaning Process
Before any liquid touches your sneakers, a crucial dry phase sets the stage for success. A methodical sequence prevents common mistakes and delivers better results.
Rushing in with a wet cloth can grind dirt deeper into the material. This makes the final outcome much harder to achieve.
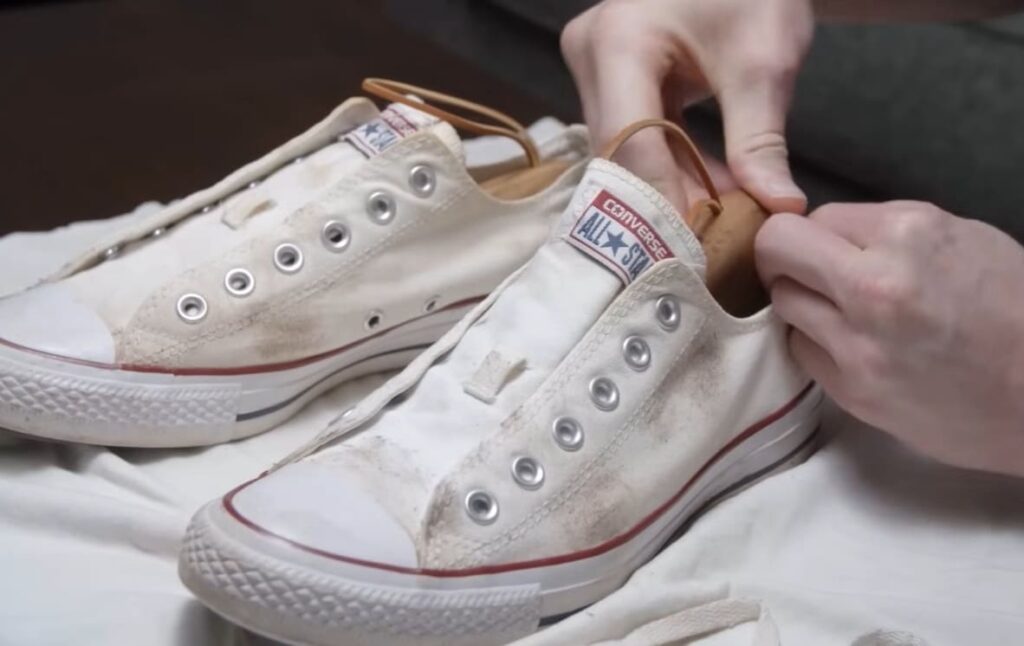
Removing Dirt, Debris, and Loose Mud
Always start with a dry brush. Firmly tap the shoe to dislodge caked-on mud. Use gentle circular motions on delicate fabrics.
For tough rubber soles, apply more pressure. Work from the top down to avoid pushing debris into cleaner areas. This step removes loose dirt grime effectively.
Introducing water too early is a frequent error. Some materials, like certain glues or suede, can be damaged by excess moisture. Identify your sneaker’s fabric first.
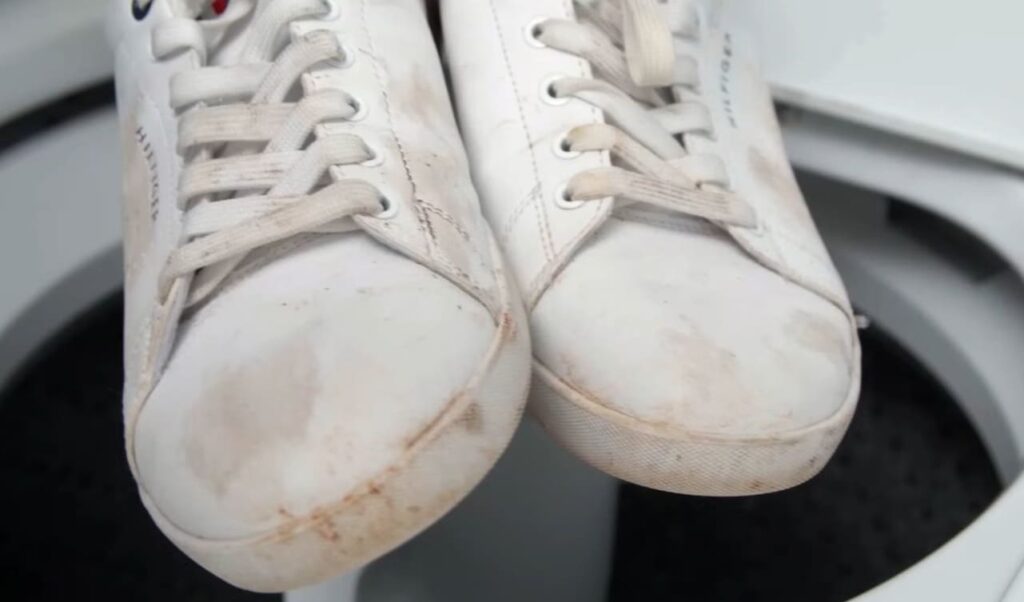
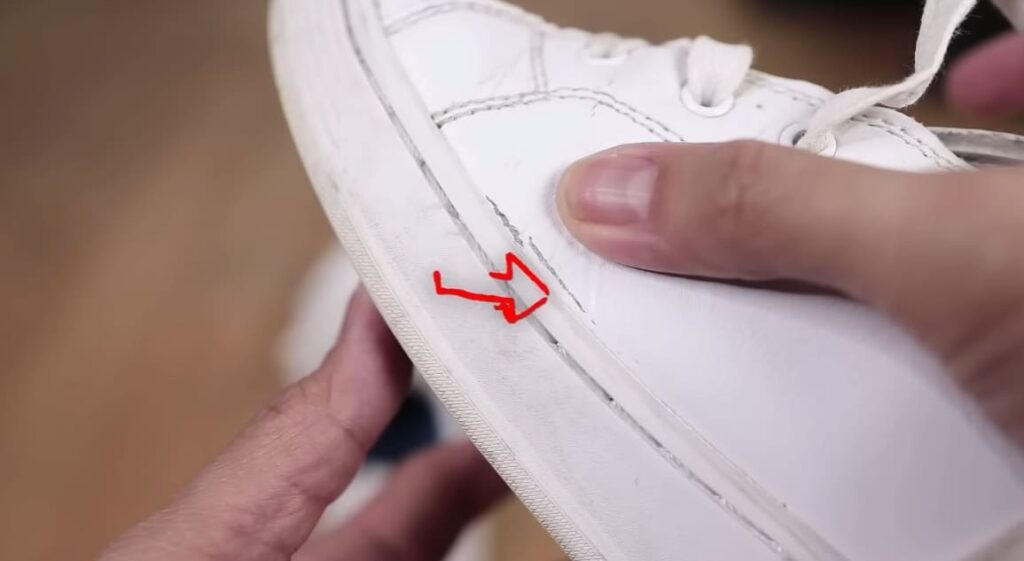
Treating and Removing Stains Carefully
After dry brushing, assess any remaining marks. Stains need a tailored approach. Always test your cleaning solution on a hidden spot first.
Different marks require different tactics. A simple table clarifies the best methods:
| Stain Type | Recommended Solution | Application Technique |
|---|---|---|
| Oil or Grease | Dish soap or degreaser | Dab, don’t rub. Let sit for 5 minutes. |
| Mud or Grass | Mild soap and warm water | Gently blot with a soft cloth. |
| General Dirt & Scuffs | Baking soda paste | Use a soft-bristled brush in small circles. |
Patience is non-negotiable. Aggressive scrubbing can fray fibers or spread the stain. For overall grime, a full clean is best. For one isolated mark, use a targeted method.
Allow each step to work fully before moving to the next. Good results come from letting the cleaner do its job.
This careful process preserves your shoes and restores their look. With the right sequence, even old pairs can look fresh again.
Cleaning Techniques for Different Materials
The material your shoe is made from dictates the entire approach. Using the wrong method can permanently damage your favorite pair.
Common materials like canvas, leather, and suede each demand a specific strategy. Tailoring your technique preserves that crisp look.
Care for Canvas and Fabric Shoes
Canvas footwear and other fabric uppers are common. They can be damaged by excessive water.
After brushing off loose dirt, gently wipe with a damp cloth. Avoid soaking these materials.
Test any cleaning solution on a hidden spot first. This prevents unwanted stains.
Special Considerations for Leather and Suede
Leather footwear requires careful attention. Robust athletic leather can handle more water.
For delicate white leather or fashion styles, use minimal moisture. A soft cloth with mild soap works well.
Always remove the insoles before cleaning. This improves air circulation.
Suede is one of the most challenging materials. Avoid water-based solutions entirely.
Use a specialist cleaning block made for suede fabrics. This protects the delicate nap.
Mesh materials are lightweight and breathable. Clean them with a soft brush to prevent snags.
For mixed-material designs, clean each section appropriately. Pay close attention to where different fabrics meet.
Natural vs. Chemical Cleaning Methods
Choosing the right cleaner for your sneakers often comes down to a simple decision: natural or chemical. Your preference, the materials you’re working with, and the stain’s severity all guide this choice.
Both paths have their place in a good maintenance routine.
Homemade Cleaning Solutions to Try
For a gentle, effective approach, look to your pantry. A classic baking soda paste is a fantastic starting point.
Mix equal parts baking soda and water to form a thick paste. Apply it with a soft brush, let it sit, then rinse. For tougher marks, combine baking soda with white vinegar.
This fizzy paste can lift stubborn grime. Apply it evenly, let it harden fully, then brush it away.
Chemical whiteners, like diluted bleach, offer powerful brightening for durable canvas or rubber. They require careful handling. Always work in a ventilated area with gloves.
Spot-test any solution on a hidden area first. This simple step prevents surprises and protects your footwear.
| Method | Ideal Solution | Best For | Key Consideration |
|---|---|---|---|
| Natural | Baking soda & water paste | Delicate fabrics, light cleaning | Gentle, eco-friendly, and hypoallergenic |
| Natural | Baking soda & vinegar paste | Stubborn stains, general brightening | Effective without harsh chemicals |
| Chemical | Specialist cleaning solution or diluted bleach | Heavily soiled or yellowed white shoes | Requires safety gear; avoid on leather/suede |
Whitening and Brightening Your Sneakers
A secondary whitening treatment tackles the dullness and yellowing that basic cleaning can miss. This transformative stage restores the brilliant brightness that makes your footwear look new again.
Using Baking Soda, Vinegar, and Other Natural Agents
Baking soda is a powerhouse for brightening. Mix it with water or hydrogen peroxide to form a thick paste. This combination lifts stubborn marks effectively.
Apply the paste with a soft brush using small circular motions. Gently work it into the material. Let it sit for 15 to 30 minutes.
Rinse everything away with clean, warm water. This step is crucial. Leftover residue can cause yellowing over time.
For an extra boost, add a splash of white vinegar. The fizzing reaction helps lift embedded dirt for heavily soiled sneakers.
| Solution | Best For | Application Time | Key Tip |
|---|---|---|---|
| Baking Soda & Water Paste | General brightening, light stains | 15-20 minutes | Safe for most materials; rinse thoroughly. |
| Baking Soda & Hydrogen Peroxide Paste | Stubborn stains, yellowing | 25-30 minutes | Test on a small area first for delicate fabrics. |
| Diluted Lemon Juice | Natural bleaching action | Dry in indirect sunlight | Avoid direct sun on leather to prevent cracking. |
| Baking Soda & Vinegar Boost | Heavily soiled areas, extra brightening | 15 minutes after fizzing | Apply immediately after mixing for best reaction. |
Alternative Whitening Tips and Tricks
For a gentle bleach effect, try diluted lemon juice. Apply the solution to specific stains. Let your sneakers dry in indirect sunlight.
Yellowed rubber soles or discolored toe boxes may need extra attention. Multiple thorough treatments often yield the best results for these persistent areas.
Drying and Maintenance Tips
Patience during the drying phase is what separates good results from great ones. Rushing this final step can undo all your careful cleaning work.
Improper methods lead to yellowing, warping, or material damage. Treat this stage with the same attention you gave to scrubbing.
Proper Air Drying and Sunlight Considerations
Always let your sneakers air dry in a cool, shaded spot with good ventilation. Direct sunlight is a major cause of discoloration and fading.
Excessive heat can warp materials and weaken adhesives. Resist using hair dryers, heaters, or clothes dryers to speed up the process.
Concentrated heat damages the construction. It can cause fabrics to crack or separate from the sole.
Stuff your shoes with crumpled newspaper or paper towels. This maintains their shape and absorbs internal moisture.
Replace the paper as it becomes damp for faster drying. Expect the process to take 8 to 24 hours of time, depending on material thickness.
If your shoes develop a yellow tint after washing, detergent residue is likely the culprit. A thorough rinse with clean water during cleaning prevents this.
For maximum air circulation, remove the insoles and laces. Position your sneakers on their side or at an angle.
This allows water to drain instead of pooling. Your favorite pair will dry evenly and maintain its perfect form.
Preventive Measures to Keep Shoes White
The secret to pristine footwear isn’t found in deep cleaning; it’s built through smart daily habits. Proactive care dramatically reduces how often you need intensive sessions. Small, consistent efforts preserve that bright look for much longer.
This approach is all about stopping problems before they start. Think of it as a shield for your favorite pair.
Daily Maintenance and Quick Clean-Up Tips
Act fast when accidents happen. Fresh spills are far easier to manage than set-in stains. Keep a microfiber cloth or special wipes handy for instant blotting.
Applying a protective spray is a game-changer. These invisible barriers repel water, dirt, and oil. Your white sneakers stay cleaner between full washes.
Simple lifestyle tips make a huge difference. Rotate your pairs to give each one time to air out. Remove them when you’re indoors to limit dirt exposure.
Store your footwear in a cool, dry place away from sun. Use a dust bag or the original box. This prevents dust buildup and yellowing.
| Preventive Action | Key Benefit | Recommended Frequency |
|---|---|---|
| Immediate Blotting | Prevents stains from setting | As needed, right after a spill |
| Apply Protective Spray | Creates a dirt-repelling barrier | After each deep clean or monthly |
| Weekly Wipe-Down | Catches small marks early | Once a week |
| Proper Storage | Prevents dust and discoloration | After every wear |
Establish a quick weekly check. A fast wipe-down keeps your shoes looking fresh. This routine makes cleaning white sneakers a simple task, not a big project.
Product Recommendations for Optimal Cleaning
A curated selection of tools and products is your secret weapon for keeping footwear looking factory-fresh. The right gear elevates routine care from basic to brilliant.
Top-Rated Cleaners and Tools
For professional results, Jason Markk’s Premium Cleaner safely tackles buildup and yellowing. It restores brightness without harsh chemicals.
Match your brush to the material. Use a soft brush for delicate mesh or knit uppers. A firm brush works best on rubber soles.
Quality microfiber cloths prevent scratches. An old toothbrush reaches tight spots near seams and logos.
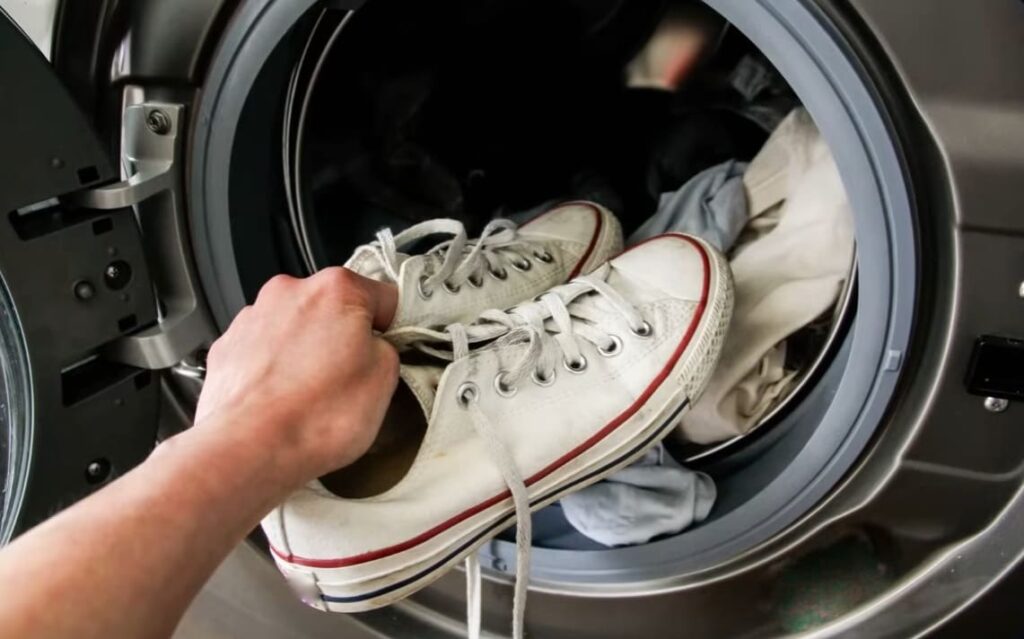
Some fabric sneakers can handle a gentle machine cycle. Always use cold water and a mesh bag. Never wash leather or suede this way.
Innovative Products for On-the-Go Maintenance
The Boot Buddy is a clever 3-in-1 tool. Its handle stores your chosen cleaning solution. Switch between brush and scraper heads for different grime.
This portable design is perfect for trips or events. Treat stains immediately before they set.
Keep dedicated wipes or travel-sized soap in your bag. A quick dab preserves that crisp look between full cleans.
Finish with a protective spray. It creates an invisible barrier, making future cleaning much simpler.
Conclusion
Maintaining that crisp, bright look on your footwear is a rewarding skill anyone can master. With the right knowledge and tools, restoring your favorite pair is entirely achievable. Don’t let a fear of dirt banish these classic white shoes from your closet.
The process is straightforward. First, remove dirt and any stain. Next, brighten the material to restore its original glow. This two-step method works for canvas, leather, and other fabrics.
Natural agents like a baking soda paste with warm water are excellent for regular care. For tough marks, a diluted bleach solution can help. Always test any new cleaner on a hidden spot first.
Simple tools make a big difference. A soft brush or old toothbrush and a microfiber cloth are often all you need. Remember to air dry your sneakers away from direct heat.
Regular, gentle cleaning is better than waiting for grime to build up. Your white sneakers can stay looking fresh for years. The time you invest in care pays off with longer-lasting, great-looking shoes.